My audience
Using audience tags
Tags let you divide your contacts into groups so you can target specific segments when sending a promo or manage them in your audience table. For example, you might create tags like "Radio", "DJs", or "Press" and apply them to the relevant contacts, then send a promo only to press contacts, or quickly filter your table to review everyone tagged as a DJ.
Tags are created at the organisation level and are available across all your promos.
Creating a tag
Go to Audience in the sidebar.
Click Manage tags at the top of the page.
Type a name for your new tag in the input field.
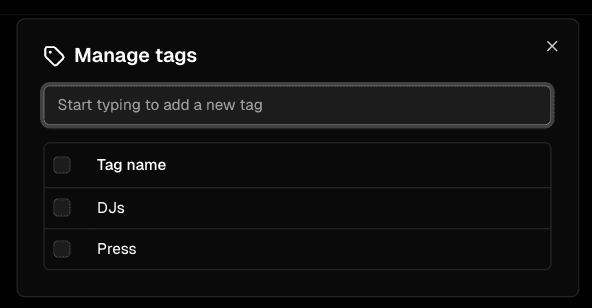
Press Enter or click Add tag.
Your new tag will appear in the list straight away and is ready to apply to your contacts.
Adding tags to contacts
There are three ways to apply tags to contacts:
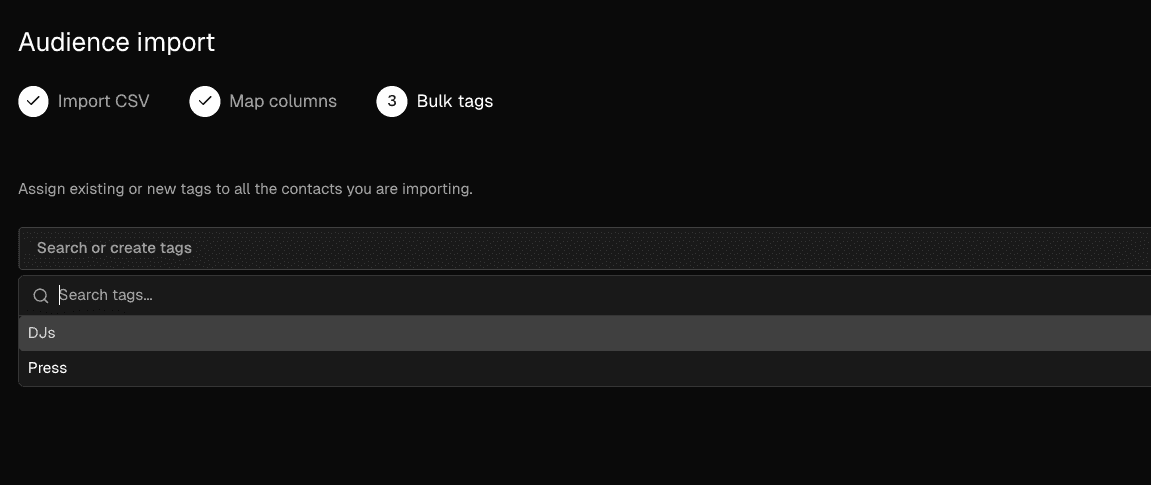
When importing contacts via CSV: The importer includes a step where you can apply one or more tags to all contacts in that import. See Adding contacts in bulk for details.
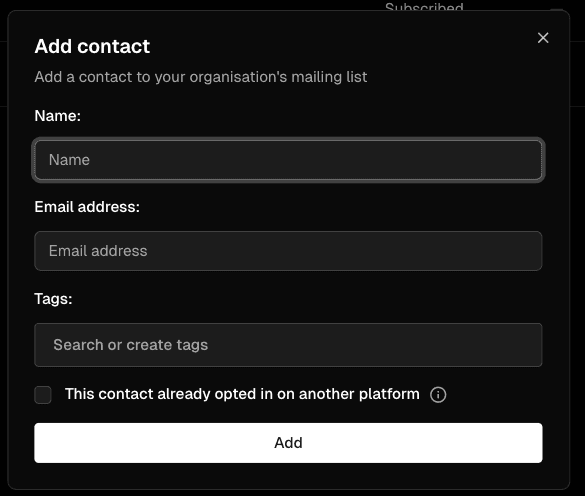
When adding a single contact manually: The add contact form includes a tags field.
From the audience table:
To tag a single contact, click the three-dot menu icon at the right-hand end of their row and select Add / remove tags.
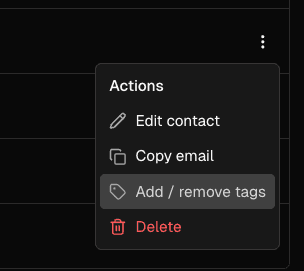
To tag multiple contacts at once, use the checkboxes on the left to select the contacts you want to update, then click Add / remove tags in the action bar that appears.
Using tags when sending a promo
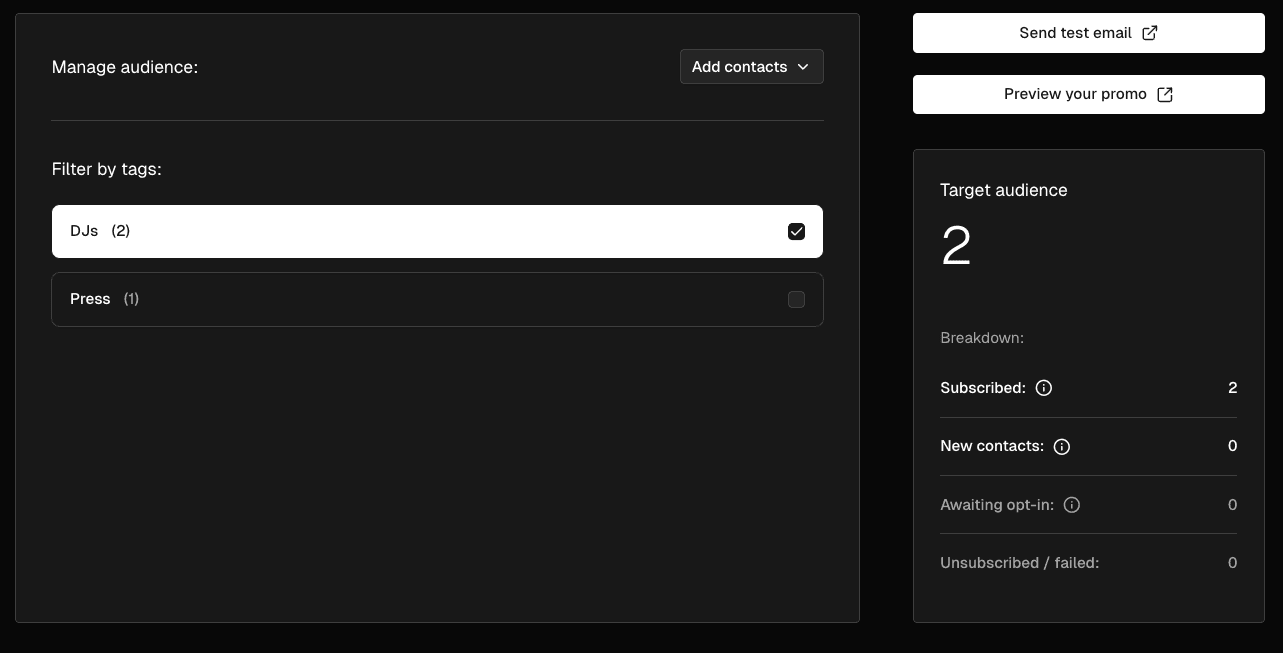
When you reach the Audience step during promo creation or editing, you will see a list of your tags with checkboxes.
Leaving all tags unchecked sends the promo to your entire opted-in audience.
Checking one or more tags filters the audience to only contacts who have those tags.
The panel on the right updates in real time as you check and uncheck tags, showing the exact number of contacts who will receive the promo. If a contact appears in more than one selected tag, they are only counted and contacted once. The panel will show how many contacts have been de-duplicated when this applies.
Filtering the audience table by tag
On the Audience page you can filter the contacts table by tag to view or manage a specific group. Use the tag filter in the table toolbar to select one or more tags.
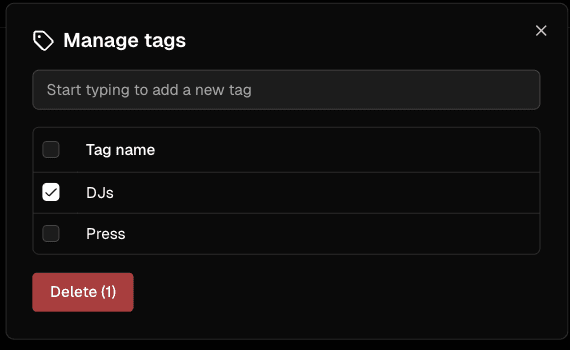
Deleting a tag
Deleting a tag removes the grouping from your audience but does not delete the contacts themselves. Your contacts will remain in Trackdrop, but they will no longer have that tag applied. If you remove a tag by mistake, you can create a new one with the same name and re-apply it to your contacts.
Go to Audience in the sidebar.
Click Manage tags at the top of the page.
Use the checkboxes to select the tag or tags you want to delete.
Click Delete (the number of selected tags will appear in brackets).
A confirmation dialog will tell you how many contacts are affected. Click Delete tag (or Delete tags if you selected more than one) to confirm.