Promos
Scheduling a promo to send later
Instead of sending a promo immediately, you can schedule it to go out at a specific date and time.
How to schedule a promo
Create a promo (or select one from your drafts folder) and proceed to the Audience step.
Select your audience using the tag checkboxes, or leave all unchecked to send to everyone.
Click Schedule promo in the footer at the bottom of the page.

Set a time and select a date from the calendar:
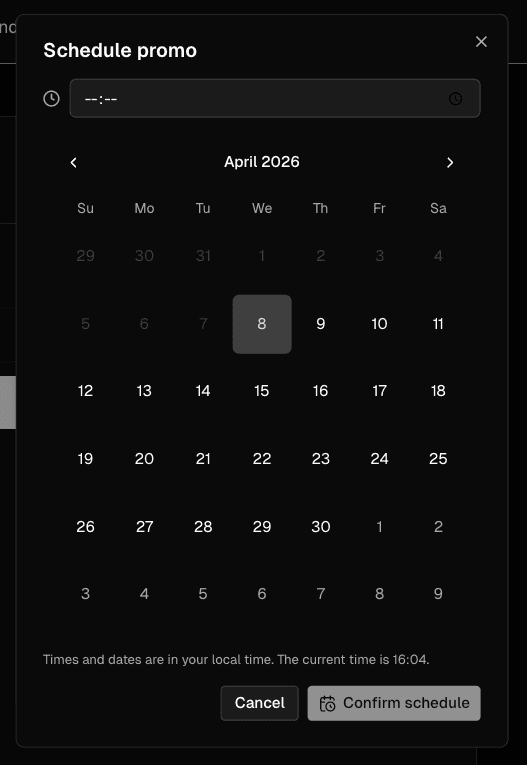
Click Confirm schedule.
All times and dates are in your local time zone. The current local time is displayed at the bottom of the calendar.
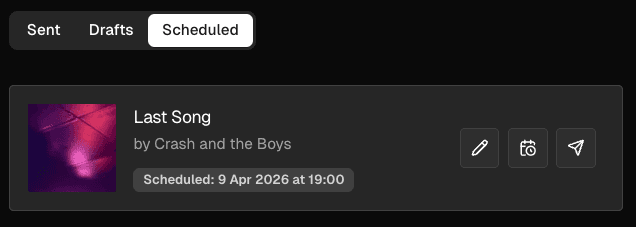
After confirming, you will be taken to the Scheduled tab on your Promos page, where the promo will appear alongside any other scheduled sends.
The scheduling banner
Once a promo is scheduled, a banner appears at the top your promo, showing the scheduled send date and time. From here you can click Reschedule to open the dialog and change the date or time:

Changing the scheduled send time
Find your promo in the Scheduled tab.
Click Reschedule on the scheduling banner, or click the scheduled date shown in the footer.
Adjust the date or time and click Amend schedule.
Removing a scheduled send time
To cancel a scheduled send without deleting the promo:
Find your promo in the Scheduled tab.
Click Reschedule on the scheduling banner, or click the scheduled date shown in the footer.
Adjust the date or time and click Amend schedule.
Click Remove schedule
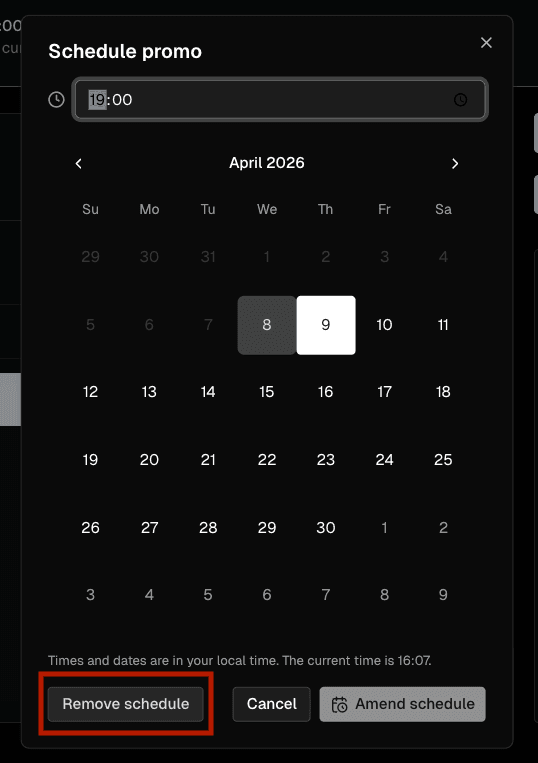
Confirm by clicking Remove schedule in the confirmation dialog.
The promo will be moved back to your Drafts and will not be sent.
If a scheduled send fails
A scheduled send can fail for a number of reasons, including a billing issue, a file processing error, or no reachable contacts in the target audience. If this happens, a red banner will appear on the promo explaining the reason, and the promo will remain on the Scheduled tab until resolved.